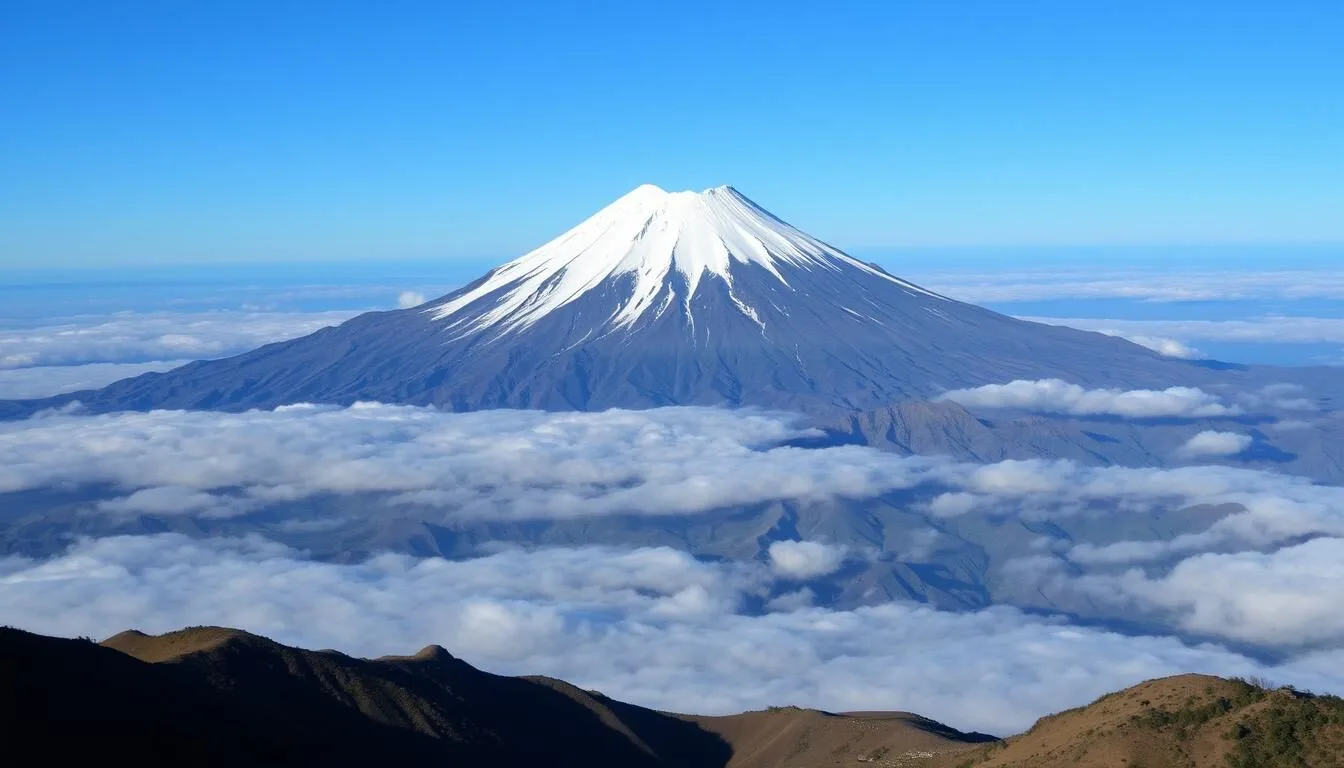
Standing majestically at 5,636 m (18,491 ft), Pico de Orizaba isn’t just Mexico’s highest peak—it’s the third tallest mountain in all of North America and the highest volcano on the continent. Known as “Citlaltépetl” (Star Mountain) in Nahuatl, this dormant volcano captivates with its perfect snow-capped cone that can be seen from hundreds of kilometers away on a clear day. Whether you’re an experienced mountaineer seeking a challenging climb or a nature enthusiast looking to explore its diverse ecosystems, Pico de Orizaba offers an unforgettable adventure in the heart of Mexico.
Getting There & Planning Your Journey
Pico de Orizaba straddles the border between the states of Puebla and Veracruz in central Mexico. Most visitors access the mountain through the small town of Tlachichuca in Puebla, which serves as the main gateway to the western approach of the volcano.
Nearest Airports
- Puebla International Airport (PBC) – Approximately 100 km (62 miles) from Tlachichuca
- Mexico City International Airport (MEX) – About 230 km (143 miles) from Tlachichuca
- Veracruz International Airport (VER) – Roughly 150 km (93 miles) from the eastern approach
From Mexico City or Puebla, you can rent a car and drive to Tlachichuca on good-quality paved highways. The journey takes approximately 2-2.5 hours from Puebla or 4 hours from Mexico City. Public transportation is also available, with buses running from Puebla City to Tlachichuca, though schedules may be limited.
Once in Tlachichuca, you’ll need to arrange 4WD transportation to reach Refugio Piedra Grande (the main basecamp) at 4,260 m (13,976 ft). The rough dirt road takes about 2 hours and is not suitable for regular vehicles. Several local companies offer transport services, typically charging around 3,000 MXN ($180 USD) per vehicle round-trip.
Best Time to Visit Pico de Orizaba
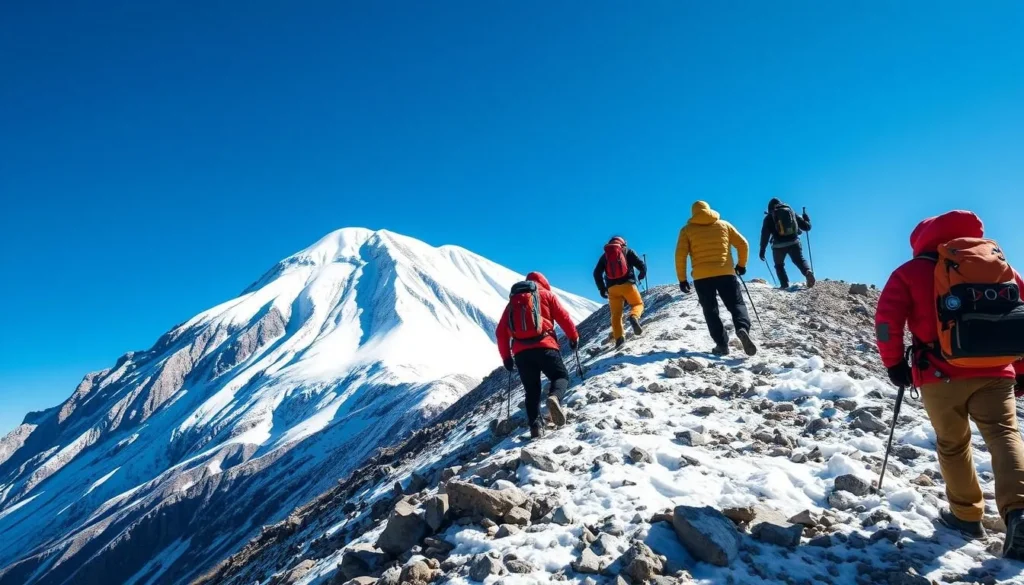
The climbing and hiking season for Pico de Orizaba follows a somewhat counterintuitive pattern compared to other Mexican destinations.
Recommended Months
- November to February – The dry season offers the most stable weather conditions with clear skies and minimal precipitation. This is the prime time for climbing activities.
- March to April – Still relatively dry with moderate temperatures, though conditions can be more variable.
Months to Avoid
- June to September – The rainy season brings frequent precipitation, poor visibility, and increased risk of avalanches and rockfalls.
- May and October – Transitional months with unpredictable weather patterns.
Weather conditions on Pico de Orizaba can change rapidly regardless of season. Temperatures at the summit can drop to -18°C (0°F) or lower, with significant wind chill factors. Always check current weather forecasts specifically for the mountain before setting out, as conditions in nearby towns don’t reflect the reality at higher elevations.
Getting Around Locally
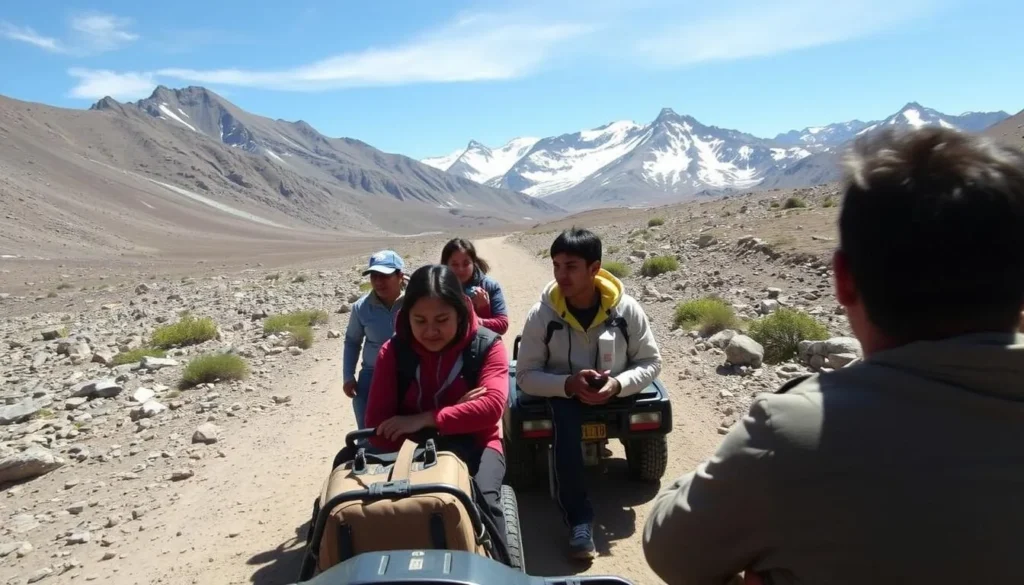
Getting around the Pico de Orizaba area requires some planning, especially for accessing the higher elevations of the mountain.
Local Transportation Options
- 4WD Transport Services – Essential for reaching Refugio Piedra Grande basecamp from Tlachichuca. Local companies like Canchola Family and Orizaba Glacier Climbers offer reliable services.
- Local Buses – Available between major towns in the region, such as between Ciudad Serdán and Tlachichuca (approximately 75 cents per ride).
- Taxis – Available in towns around the mountain for short distances.
- Rental Cars – Useful for exploring the broader region, but not suitable for accessing the mountain itself.
For those planning to circumnavigate the volcano on the Pico de Orizaba Loop trail, transportation to and from trailheads can be arranged through local guide services. The complete loop covers approximately 40 km (25 miles) and typically takes two full days of hiking.
Where to Stay
Accommodation options around Pico de Orizaba range from mountain refuges to comfortable guesthouses in nearby towns.
Mountain Refuges
- Refugio Piedra Grande – Located at 4,260 m (13,976 ft), this basic but free mountain hut is the main basecamp for climbers attempting the Jamapa Glacier route. It has wooden bunks that can accommodate 40-50 people. No reservations are possible, so arrive early to secure a spot.
- Valle del Encuentro Refuge – Located on the south face of the volcano, this shelter serves as a starting point for the Pico de Orizaba Loop trail.
Tlachichuca Accommodations
- Canchola Family Hostel – A popular option run by the Canchola family, who also provide transport services to the mountain.
- Orizaba Glacier Climbers Airbnb – A comfortable two-bedroom accommodation perfect for groups preparing for a climb.
- Hotel Villa Azompa – A mid-range hotel option in town with basic amenities.
Ciudad Serdán
This larger town offers more accommodation options than Tlachichuca and is still within easy reach of the mountain.
For those acclimatizing before their climb, staying in Mexico City (2,240 m/7,350 ft) or Puebla (2,135 m/7,005 ft) for a few days is recommended to help your body adjust to the elevation.
Dining & Local Cuisine
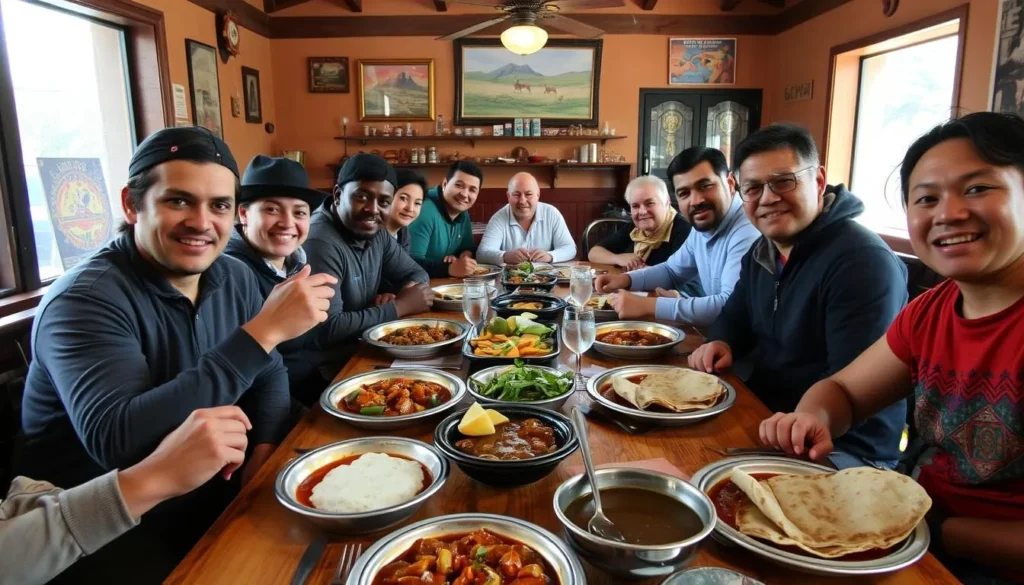
The region around Pico de Orizaba offers delicious traditional Mexican cuisine that’s perfect for fueling your mountain adventures.
Local Specialties
- Mole Poblano – The famous complex sauce made with chocolate and chilies, typically served over chicken or turkey.
- Chiles en Nogada – A patriotic dish featuring poblano peppers stuffed with meat and fruit, topped with walnut sauce and pomegranate seeds.
- Cemitas – Puebla’s signature sandwich made with sesame bread, avocado, meat, quesillo cheese, and chipotles.
- Chalupas – Small, thick tortillas topped with salsa, shredded meat, and onions.
Dining Options
In Tlachichuca and Ciudad Serdán, you’ll find small family-run restaurants serving hearty, affordable meals. Many climbing services also offer meal packages that include breakfast and dinner at their facilities.
Mountain Food
There are no food services at Refugio Piedra Grande or other mountain shelters, so you’ll need to bring all necessary provisions. Most climbers pack:
- High-energy snacks (nuts, dried fruits, energy bars)
- Instant soups and freeze-dried meals
- Hot chocolate and coffee
- Plenty of water or water purification methods
Small portable stoves are essential for preparing hot meals and drinks at the refuge, which becomes particularly important in the cold mountain environment.
Attractions, Sightseeing & Activities
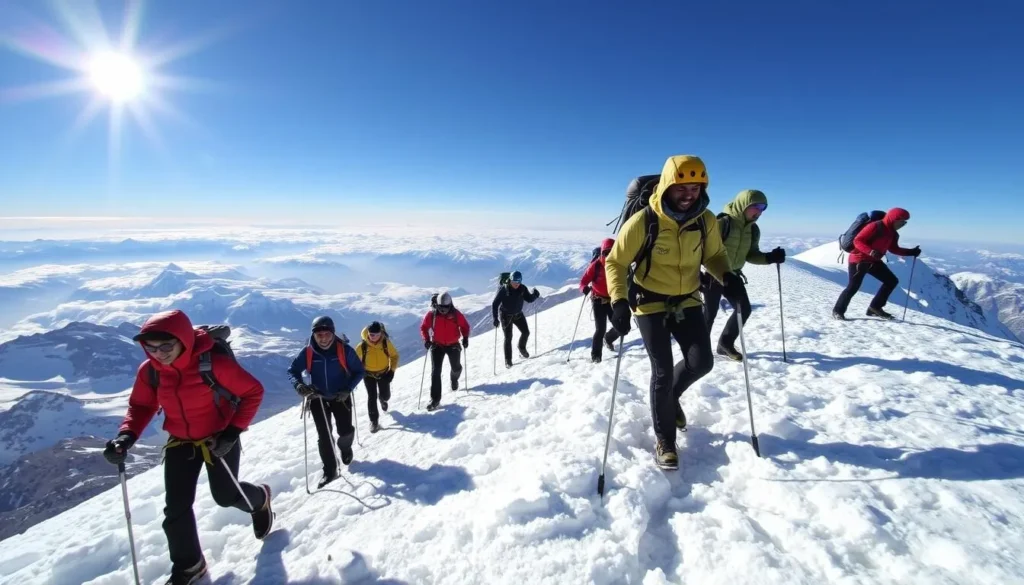
Climbing Routes
The main attraction of Pico de Orizaba is undoubtedly the climb to its summit. Several routes exist, with varying levels of difficulty:
- Jamapa Glacier Route – The most popular and scenic route, starting from Refugio Piedra Grande. It involves crossing a rocky section called the Labyrinth before ascending the glacier to the summit. While not technically difficult, it requires the use of crampons, ice axes, and proper mountaineering techniques.
- South Face Route – A less frequented but more technically challenging route.
- North Face Direct – Reserved for experienced climbers with solid ice climbing skills.
The Pico de Orizaba Loop
For those who prefer hiking to technical climbing, the Pico de Orizaba Loop (La Circumvalación) offers a spectacular 40 km (25 mile) trail that circumnavigates the entire volcano. This challenging two-day trek provides incredible views of all faces of the mountain without requiring technical climbing skills.
Acclimatization Hikes
Several excellent day hikes around the base of the volcano help with acclimatization:
- Short hikes from Refugio Piedra Grande to viewpoints
- Exploring the Ice Cascades on the Northeast slope
- Hiking to the base of the glacier and back
For proper acclimatization before attempting the summit, many climbers first tackle other volcanoes in central Mexico, such as La Malinche (4,461 m/14,636 ft), Nevado de Toluca (4,680 m/15,354 ft), or Iztaccíhuatl (5,230 m/17,159 ft).
Museums, Cultural Spots & Festivals
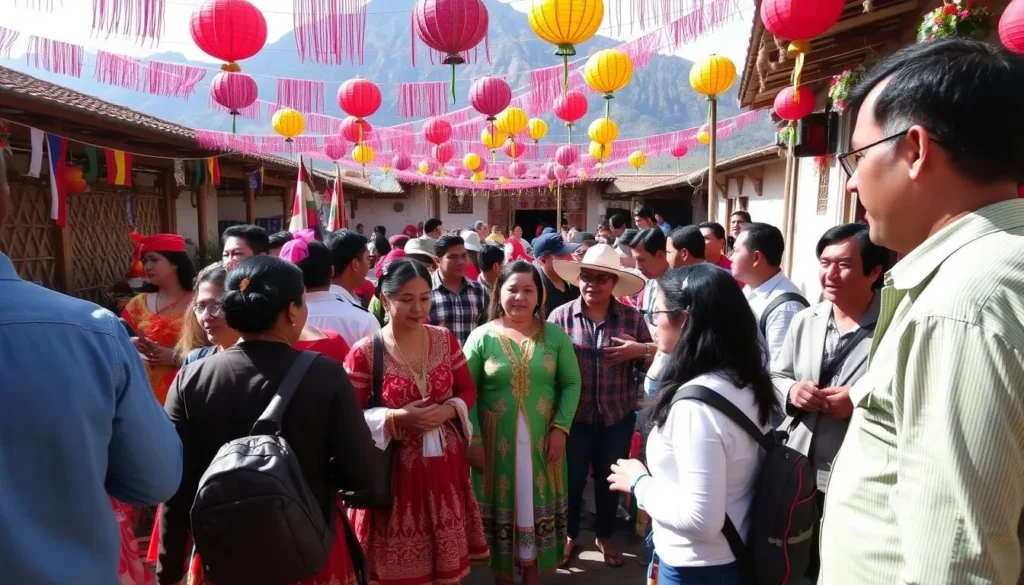
While the mountain itself is the main attraction, the surrounding region offers rich cultural experiences that provide insight into local traditions and history.
Museums
- Museo del Café (Coffee Museum) – Located in Córdoba, Veracruz, this museum showcases the region’s important coffee-growing heritage.
- Museo de la Montaña – A small mountain museum in Tlachichuca displaying climbing artifacts and the history of expeditions on Pico de Orizaba.
Cultural Sites
- Tlachichuca Church – The picturesque central church in this mountain town reflects traditional Mexican architecture.
- Indigenous Villages – Several traditional villages around the mountain maintain pre-Hispanic customs and crafts.
- Large Millimeter Telescope – Located on Sierra Negra (a neighboring volcano), this is the world’s largest single-dish steerable millimeter-wavelength telescope.
Festivals
The region celebrates several festivals throughout the year:
- Festival de la Montaña – A mountain festival typically held in November celebrating mountaineering culture.
- Day of the Dead (November 1-2) – Elaborate celebrations throughout the region with altars, marigolds, and special foods.
- Feast of the Virgin of Guadalupe (December 12) – Religious processions and celebrations in local communities.
These cultural experiences provide a perfect complement to the physical challenges of the mountain, offering visitors a more complete understanding of this fascinating region of Mexico.
Sports, Nature & Outdoor Experiences
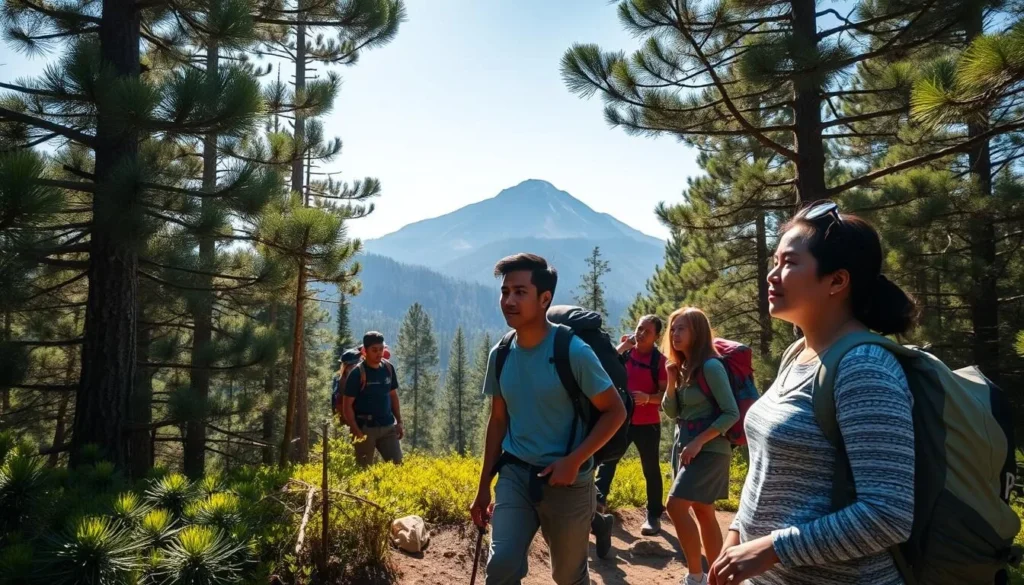
Beyond climbing the main peak, the Pico de Orizaba region offers numerous outdoor activities for nature enthusiasts.
Wildlife Watching
The diverse ecosystems around the volcano support unique wildlife:
- Teporingo (Volcano Rabbit) – An endangered species endemic to Mexican volcanoes, weighing only about half a kilogram.
- Dwarf Rattlesnakes – Small but venomous snakes found on the eastern slopes.
- Eagles and Hawks – Frequently spotted soaring above the mountain.
Natural Features
- Ice Cascades – Natural ice formations on the Northeast slope where water emerges from caves and freezes in winter.
- Jamapa River Canyon – A dramatic canyon formed by glacial runoff.
- Alpine Meadows – Beautiful high-altitude grasslands on the western face.
Other Outdoor Activities
- Mountain Biking – Several trails on the lower slopes are suitable for experienced mountain bikers.
- Photography – The mountain and surrounding landscapes offer incredible opportunities for nature and landscape photography.
- Star Gazing – The clear mountain air and minimal light pollution make this an excellent location for astronomy enthusiasts.
Pico de Orizaba National Park covers 19,750 hectares (48,800 acres) and encompasses a range of ecosystems from high-altitude alpine environments to pine forests, providing diverse outdoor experiences for visitors of all interests.
Safety, Etiquette & Local Customs
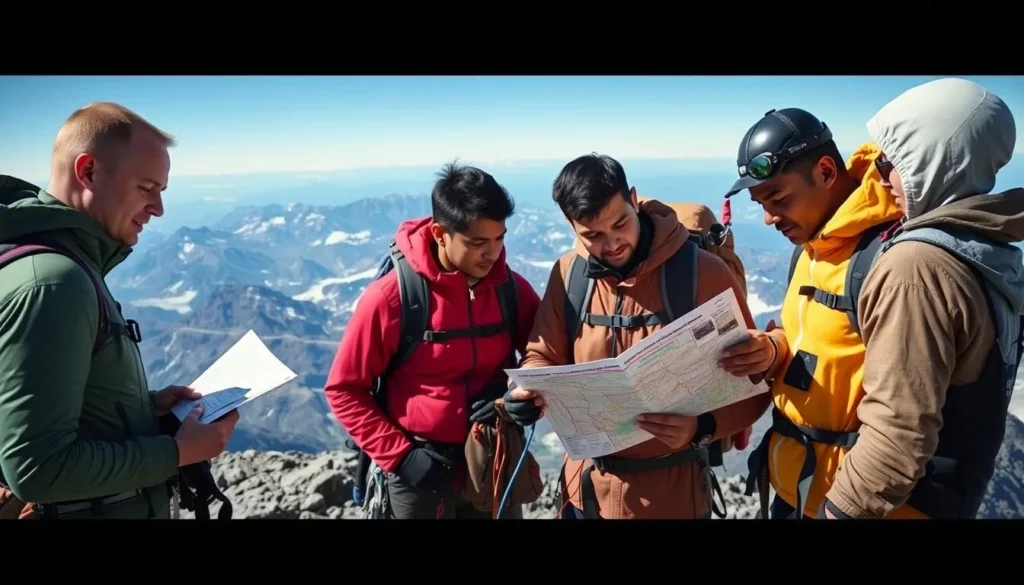
Mountain Safety
Climbing Pico de Orizaba involves significant risks that require proper preparation:
- Altitude Sickness – The high elevation poses serious risks. Proper acclimatization is essential before attempting the summit. Spend time at intermediate elevations and consider climbing other volcanoes in Central Mexico first.
- Weather Conditions – Mountain weather can change rapidly. Check forecasts specifically for the mountain (not just nearby towns) and be prepared to postpone your climb if conditions are unfavorable.
- Technical Skills – While not extremely technical, the glacier climb requires basic mountaineering skills including the use of crampons and ice axes. If you lack experience, hiring a guide is strongly recommended.
- Equipment – Proper cold-weather gear, mountaineering boots, crampons, ice axes, and helmets are essential. Rental equipment is available from guide services in Tlachichuca.
Local Etiquette
- Environmental Respect – Pack out all trash and waste, including toilet paper. The mountain environment is fragile.
- Cultural Sensitivity – The mountain has cultural significance to local indigenous communities. Respect traditional beliefs and practices.
- Supporting Local Economy – Consider hiring local guides and using local services to support the communities around the mountain.
General Safety
The Pico de Orizaba region is generally considered safe for tourists, but standard travel precautions apply:
- Keep valuables secure and be aware of your surroundings in towns and cities
- Use reputable transportation services
- Purchase travel insurance that covers high-altitude activities and emergency evacuation
The entry fee to Pico de Orizaba National Park is 58 MXN ($3.50 USD) per person, payable in cash before reaching Refugio Piedra Grande.
Visitor Comments About Pico de Orizaba
“As an experienced mountaineer, I found Pico de Orizaba to be the perfect balance of challenge and accessibility. The Jamapa Glacier route tested my skills without being overly technical. The sunrise from the summit was one of the most spectacular I’ve ever witnessed, with the shadow of the mountain stretching across the landscape below. Absolutely worth the effort!”
“I was nervous about attempting my first high-altitude climb, but with proper acclimatization and a great guide from Orizaba Glacier Climbers, I made it to the summit! My advice: don’t underestimate the altitude. We spent three days climbing other volcanoes first, and it made all the difference. The sense of accomplishment standing at 5,636 meters was indescribable.”
“The Pico de Orizaba Loop was the highlight of our Mexico trip. Instead of climbing to the summit, we chose to hike around the entire volcano over two days. The diversity of landscapes and the changing views of the mountain were incredible. We stayed at both mountain refuges and met fascinating people from around the world. A challenging but rewarding experience!”
Practical Travel Tips
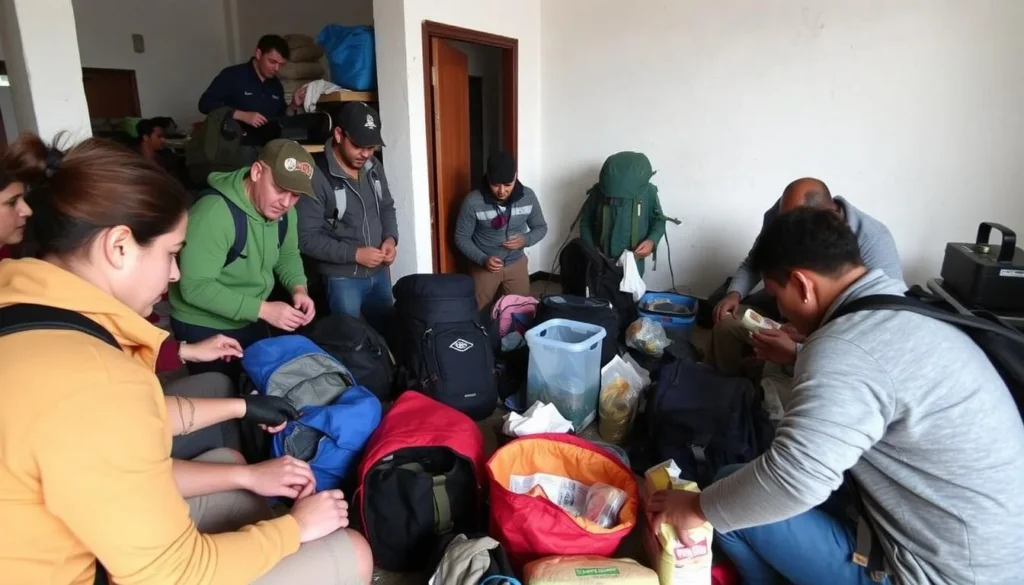
Essential Gear
- Mountaineering Equipment – Crampons, ice axe, helmet, harness, and rope (if climbing the glacier)
- Cold Weather Clothing – Insulated jacket, waterproof outer layers, thermal base layers, warm hat, gloves, and mountaineering boots
- Camping Essentials – Sleeping bag rated for below-freezing temperatures, sleeping pad, headlamp with extra batteries
- Food and Water – High-energy snacks, easy-to-prepare meals, and water bottles or hydration system
Communication
Cell phone coverage is limited on the mountain. Consider renting a satellite phone or communication device for emergencies if climbing without a guide.
Money Matters
- Bring sufficient cash for Tlachichuca and mountain fees, as ATMs are limited in small towns
- Guide services typically cost between $250-500 USD per person depending on group size and services included
- Budget approximately $30-50 USD per day for food and accommodation in towns
Language
While many guides speak some English, basic Spanish phrases will be helpful, especially in smaller towns and villages around the mountain.
Acclimatization Strategy
A recommended acclimatization schedule might include:
- Days 1-2: Mexico City or Puebla (2,100-2,200 m/6,900-7,200 ft)
- Days 3-4: Climb Nevado de Toluca (4,680 m/15,354 ft)
- Days 5-6: Climb La Malinche (4,461 m/14,636 ft)
- Days 7-9: Climb Iztaccíhuatl (5,230 m/17,159 ft)
- Days 10-12: Pico de Orizaba attempt
This gradual approach significantly increases your chances of a successful and safe summit experience.
Your Mexican Mountain Adventure Awaits
Pico de Orizaba represents the pinnacle of mountaineering in Mexico—a perfect blend of challenge, beauty, and cultural richness. Whether you’re standing triumphantly on its 5,636 m (18,491 ft) summit watching the sunrise cast the mountain’s shadow across the landscape below, circumnavigating its massive base on the Loop trail, or simply admiring its perfect volcanic cone from a distance, this magnificent peak offers experiences that will remain with you long after you’ve returned home. With proper preparation, respect for the mountain’s power, and an adventurous spirit, your journey to Mexico’s highest peak will reward you with memories as towering as Citlaltépetl itself.
The above is subject to change.
Check back often to TRAVEL.COM for the latest travel tips and deals.



0 Comments